![[Video] Transforming Ceilings with Faux Wooden Beams](https://www.dandgdesign.com/wp-content/uploads/2024/06/italy-ceiling-beams-750x500.png)
[Video] Transforming Ceilings with Faux Wooden Beams
Dreaming of giving your Italian home that rustic, timeless look without breaking the bank? Today, we’re sharing our latest DIY project: installing faux wooden beams that bring warmth and character to any room—minus the heavy lifting (or heavy price tag!).
Behind the Scenes Video
At the end of the article, don’t miss the behind-the-scenes video where we share all the details of the faux ceiling beam installation process. See how we brought a touch of rustic charm to a modern space with a clever and cost-effective hack!
Why Faux Beams?
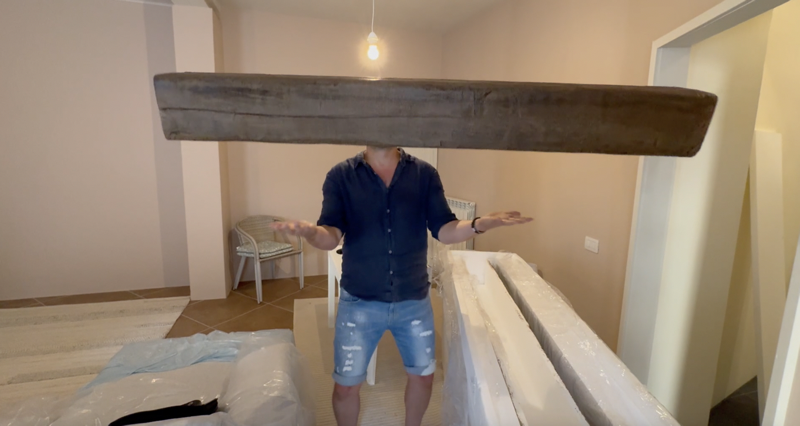
When our client bought this house, we were all frustrated to discover that most of the original medieval wood beams had been removed in a 1980s remodel, taking much of the home’s character with them. Real wooden beams are stunning, but they can be expensive and challenging to install. Enter our lightweight faux beams! These beauties are made of polystyrene, yet they look just like aged wood. They’re affordable, easy to work with, and give the illusion of heavy wooden beams.
📺 WATCH OUR RENOVATIONS
👇 SIGN UP TO OUR VIDEO SERIES BELOW
How We Installed Faux Beams (Step-by-Step)
Unboxing and First Impressions
The faux beams arrived, and we were genuinely impressed by how realistic they looked. Each beam was lightweight but incredibly detailed, with realistic wood grain and colouring. We could already see how they’d give the room that old-world charm!
Preparing the Space and Measuring
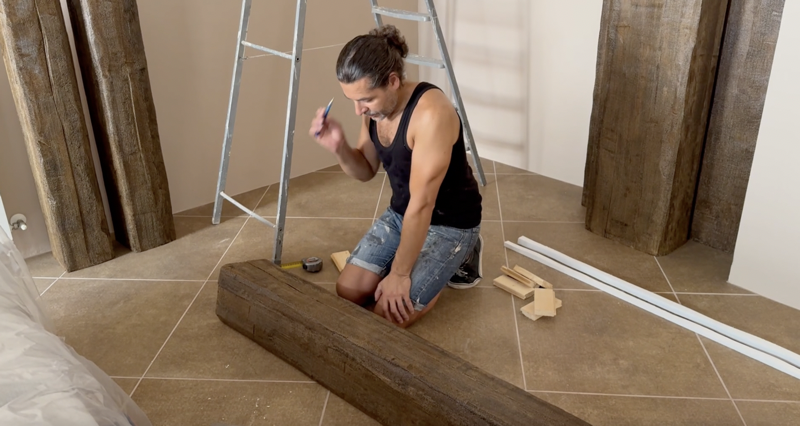
Because the walls and ceiling in this house aren’t perfectly level, we knew some beams would need to be trimmed to fit snugly. Measuring and planning out where each beam would go was crucial, especially to avoid any awkward gaps or misalignments.
Applying Adhesive
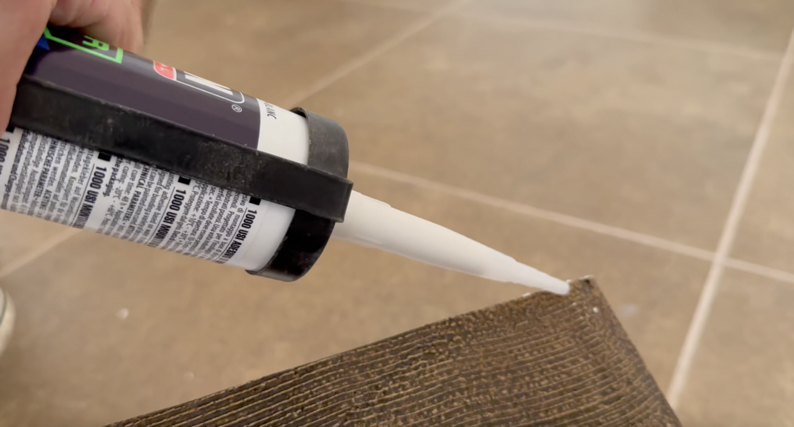
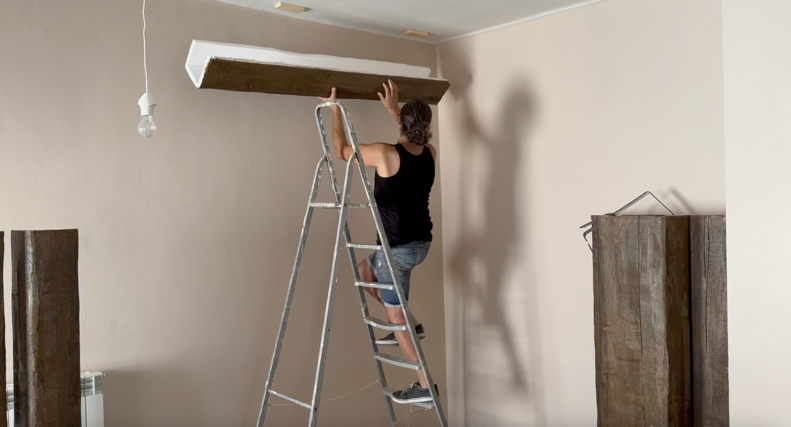
Our beams came with an adhesive called Titan Power Fix, designed to secure them in about five seconds. We’d recommend holding each beam in place for a few seconds longer just to ensure a solid hold. To be extra safe, we also added wooden buttons for support and secured them with nails.
Adding Faux Metal Straps
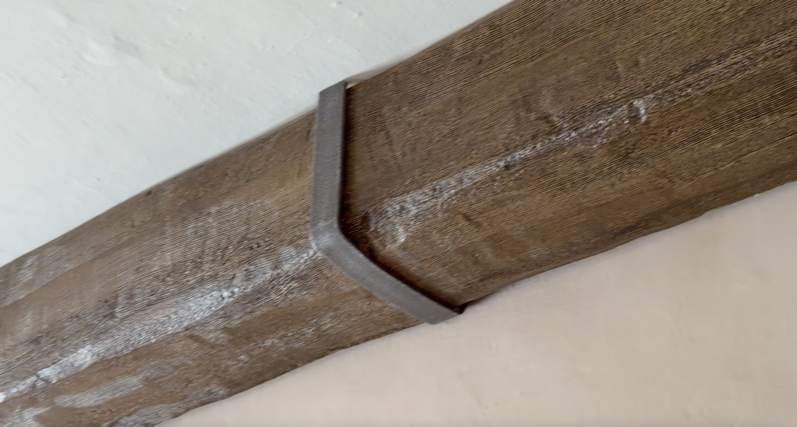
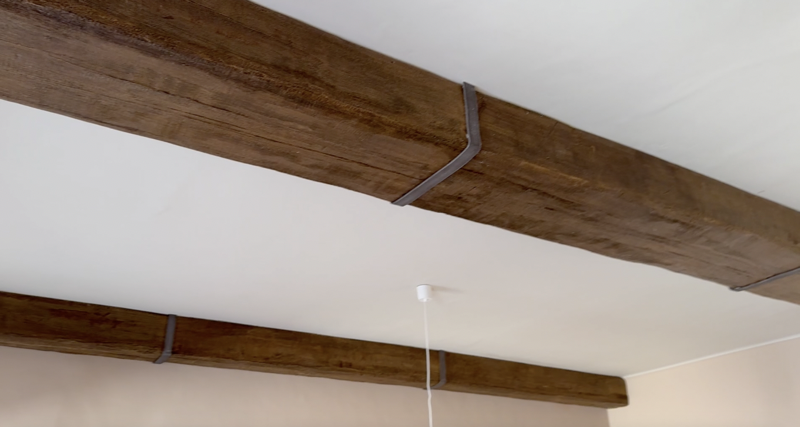
To add a bit more authenticity, we attached faux metal straps at the joints between beams. These are also made of polystyrene but resemble iron, giving the appearance that the beams are structurally fastened to the ceiling. While they looked great, we decided to paint them a shade darker to make them even more convincing.
READ MORE: OUR ITALIAN RENOVATION PROJECTS
Blending Seams and Final Touches
Since the beams weren’t full-length, we had to join multiple sections. To blend these, we used flexible filler around the edges, then touched up with varnish to match the beam colour exactly. Our local hardware store helped us colour-match perfectly!
Go Behind the Scenes
Curious about how we pulled off this stunning transformation? Go behind the scenes in our video, where we show the entire process—from choosing the perfect faux beams to the step-by-step installation. It’s a quick, cost-effective way to add rustic charm to any space, and we’re sharing all our tips and tricks to help you do the same!
🇮🇹 Dreaming of Moving to Italy? 🇮🇹
If you dream of moving or retiring to Italy, why not join us at our Move to Italy Retreat? Held every spring at our beautifully restored farmhouse in Le Marche, Italy, this retreat offers the perfect opportunity to learn from experts, explore stunning properties, and enjoy the best of Italian food, wine, and hospitality.
Make your dream a reality—discover more and sign up today!


